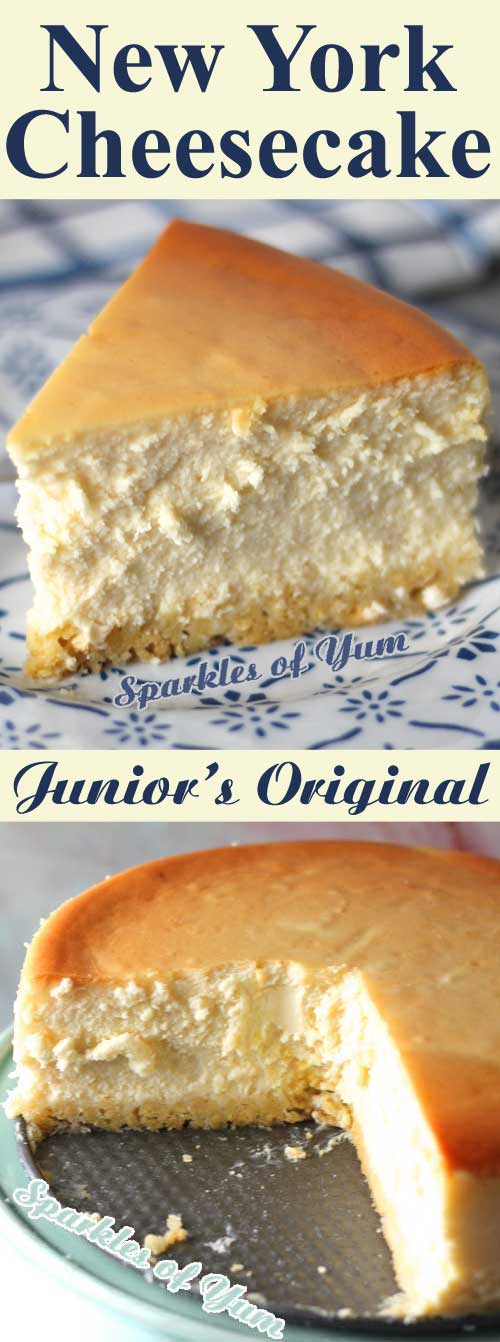
This recipe for New York cheesecake is the magic formula used by Junior’s bakery in NYC since the 1950’s to make their world famous cheesecake!

“The World’s Most Fabulous Cheesecake.” That is what this recipe is very commonly known for being.
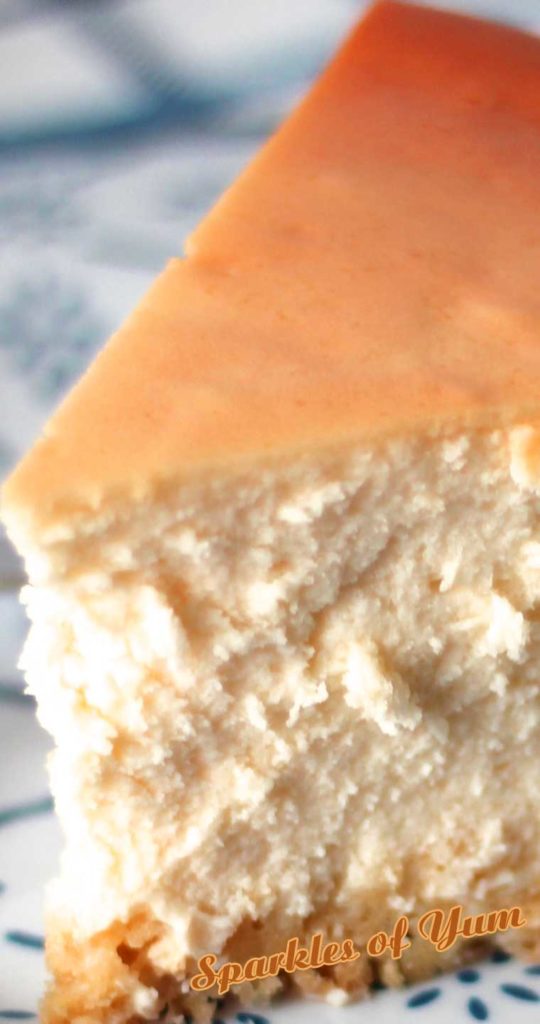
The magic formula, used by Junior’s bakery in NYC since the 1950’s. The taste and texture are phenomenal; absolute perfection. So rich and dense. All you need is one bite and your taste buds are doing the happy dance. It’s that kind of deliciousness.
You want to enjoy this cheesecake slowly, not gobble it down. But really appreciate each and every bite while praising and giving thanks all at the same time.

I think I actually mumbled, “I love you cheesecake” at some point while eating that first piece of cake. And then while sharing it with family, all the words they can string together is “OMG this is so good!” or “Are you sure you didn’t get this from the bakery?!”. Now that’s a compliment!
However; I can’t personally take all the credit, this is the Famous New York Cheesecake recipe from Junior’s Harry Rosen and his Master Baker, Eigel Petersen. The two conducted laboratory-like experiments in the bakery at Junior’s; testing and tasting until they hit upon the magic formula.
This is THAT recipe. Alan Rosen and Beth Allen generously published a few cookbooks for many of Junior’s recipes, but THIS cheesecake is what Junior’s is known for.

What can you serve with this New York Cheesecake – Junior’s Original?
- Top with Homemade Blueberry Sauce
- You could also be a purist, and enjoy a nice slice of cheesecake with nothing on it!

Some tips:
- To remove your cheesecake from the bottom of the springform pan, place the well-chilled cheesecake in the freezer for 30 minutes, no longer. If the cake has already been frozen for at least an hour, let it stand at room temperature for at least 10 minutes before trying to remove from the pan. Using a metal cake spatula at least 12 inches long, lift up the bottom edge of the cake slightly, just enough to release the vacuum holding the cake to the pan. If the cake is still sticking, it is because the butter used to grease the pan has not softened yet.
- Before making the first slice, warm the knife under hot running water and dry. Wipe the knife clean between each slice, warming when necessary.
- If your cheesecake doesn’t come out quite as perfect as you’d like, don’t worry it will still taste amazing!
- A few common problems and how to solve them and so many professional secrets can be found in the Junior’s Cheesecake Cookbook 50 T-Die-For Recipes for New York-Style Cheesecake by Alan Rosen & Beth Allen

FOLLOW Sparkles of Yum ON FACEBOOK | PINTEREST | INSTAGRAM | TWITTER FOR ALL OF THE LATEST CONTENT, RECIPES AND UPDATES.
Feel free to join the Sparkles of Yum Recipe Swap Facebook group! A fun place to find and share all of your favorite recipes.
You can save recipes online and access them on ANY device! Just click the "Save" button on the recipe or the small heart to the right.


New York Cheesecake – Junior’s Original
This recipe for New York cheesecake is the magic formula used by Junior's bakery in NYC since the 1950's to make their world famous cheesecake!
Ingredients
For the Sponge Cake Crust
- Softened unsalted butter (for buttering the pan)
- 1/3 cup sifted cake flour
- 3/4 teaspoon baking powder
- Pinch of salt
- 2 extra-large eggs (separated)
- 1/3 cup sugar
- 1 teaspoon pure vanilla extract
- 2 drops pure lemon extract
- 2 tablespoons unsalted butter (melted)
- 1/4 teaspoon cream of tartar
Ingredients For the Cheesecake:
- 4 (8-ounce) packages cream cheese (use only full fat) at room temperature
- 1 2/3 cups sugar
- 1/4 cup cornstarch
- 1 tablespoon pure vanilla extract
- 2 extra-large eggs
- 3/4 cup heavy whipping cream
Instructions
Instructions for the Sponge Cake Crust:
- Preheat the oven to 350°F. (at least 30 minutes before putting in the oven) and generously butter the bottom and sides of a 9-inch non-stick springform pan. Wrap the outside with aluminum foil, cover the bottom and extending all the way up the sides.
- In a small bowl, sift the flour, baking powder, and salt together.
- Using a large bowl with an electric mixer, beat the egg yolks on high for 3 minutes. With the mixer running, slowly add 2 tablespoons of the sugar and continue beating until thick light yellow ribbons form in the bowl, about 5 minutes more. Beat in the extracts.
- Sift the flour mixture over the batter and stir it in by hand, just until there are no remaining white flecks. At this point blend in the melted butter.
- Wash and dry the mixing bowl and beaters really well, (if there's any oil or fat left, this can cause the the egg whites to not whip correctly). Now put the egg whites and cream of tartar into the bowl with the mixer and beat on high until frothy. Gradually add the remaining sugar and continue beating until stiff peaks form (the whites will stand up and look glossy, not dry). Fold about one-third of the whites into the batter, then the remaining whites. Don't worry if you still see a few white specks, as they'll disappear during baking.
- Gently spread the batter over the bottom of the prepared pan and bake just until set and golden (not wet or sticky), about 10-12 minutes. Touch the cake gently in the center. If it springs back, it's done. Watch carefully and don't let the top brown. Leave the crust in the pan and place on a wire rack to cool. Leave the oven on while you prepare the cheesecake batter.
Instructions for the Cheesecake:
- While the crust is cooling on the wire rack, leaving the aluminum foil on. We'll start the cheesecake batter.
- In a large bowl, using an electric mixer fitted with the paddle attachment, on low speed; cream together 1 package of the cream cheese, 1/3 cup of the sugar, and the cornstarch together until creamy, about 3 minutes, scraping down the bowl several times, to make a "starter batter". Then add in the remaining cream cheese, one package at a time, beating well and stopping the mixer to scrape down the sides of bowl after adding each one.
- Increase the mixer speed to medium, no faster and beat in the remaining sugar, then the vanilla. Now blend in the eggs, one at a time, beating well after adding each egg. Scrape down the bowl. Now add in the cream all at once, beat just until blended. When the batter pulls together in the bowl and looks creamy, airy, and almost billowy. It's ready to bake. Do not to overmix! Gently spoon the batter over the crust.
- Place the cake pan in a large shallow pan (like a roasting pan) containing hot water that comes halfway (about 1 inch) up the side of the springform. Bake until the edge is light golden brown, the top is light gold, about 1 1/4 hours. If the cake still feels soft around the edge, let it bake for 10 minutes more. Remove the cheesecake from the water bath, transfer to a wire rack, and let cool for 2 hours (just walk away—do not move it). Then, leave the cake in the pan, cover loosely with plastic wrap, and refrigerate until completely cold before serving, preferably overnight or for at least 4 hours.
To Serve:
- Release and remove the side of the springform, leaving the cake on the bottom of the pan. Place on a cake plate. Refrigerate until ready to serve. Slice with a sharp straight-edge knife, not a serrated one, rinsing the knife with warm water between slices. Refrigerate any leftover cake, tightly covered, and enjoy within 2 days, or wrap and freeze for up to 1 month.
Notes
Always bake the cheesecake in a water bath as they do at Junior's. It keeps the heat in the oven moist and helps the cake bake slowly, gently, and evenly. It also helps to ensure that your cake will have a smooth top, with no large cracks.
Cheesecake can be frozen for up to 6 months
Nutrition Information
Yield 8 large slices Serving Size 1Amount Per Serving Calories 404Total Fat 16gSaturated Fat 9gTrans Fat 0gUnsaturated Fat 6gCholesterol 134mgSodium 107mgCarbohydrates 61gFiber 1gSugar 52gProtein 5g
Nutrition data was provided and calculated by Nutritionix, and should only be used as a general guideline. This information is provided as a courtesy and there is no guarantee that the information will be completely accurate.
Sparkles of Yum is a participant in the Amazon Services LLC Associates Program, an affiliate advertising program designed to provide a means for sites to earn advertising fees by advertising and linking to Amazon.com.